While we were visiting Taiwan for the Holidays, my high school daughter retained her typical pickiness regarding food. One evening, after a delicious seafood dinner, which she barely touched, we swung by a convenience store in search of something she would eat. Surveying all of the food items, she finally settled on a couple of packaged pastries.
After making the purchase, she led the way to a low wall by Fisherman’s Wharf, where all three girls sat down to enjoy a treat. From one of the wrappers, she pulled a Pineapple Bun.
We all sampled that soft sweet roll. After that evening, whenever we stopped by a Seven-Eleven to grab a quick lunch, my daughter inevitably exited the shop with some kind of wrapped pastry—often a Pineapple Bun.
Fast forward four months to our coronavirus lockdown. Two or three times a week, you’ll find this same girl in our Georgia kitchen baking cookies or brownies for the rest of the family to enjoy. This week, she discovered a recipe for the Pineapple Buns she enjoyed so much in Taiwan. Shockingly, these delicious pastries contain no pineapple ingredients. How hard could it be to make them at home? Would they taste the same? There was only one way to find out!
My daughter has a wealth of experience with a variety of other pastries—cakes, muffins, brownies, cookies, and even coconut cream pie. Since she had little experience baking yeast bread, the directions were a bit daunting. However, she welcomed the challenge. Pulling up the recipe on her phone Tuesday afternoon, she began the four-hour-long task.
I was delighted to discover that the directions included proofing the yeast. What a perfect opportunity for her to see firsthand how this live leavening agent works! After warming milk in the microwave, she carefully checked the temperature then stirred in sugar and yeast. Setting it aside, she gathered other ingredients for the recipe. Just five minutes later, bubbles foaming at the top showed that the tiny organisms were alive and active.
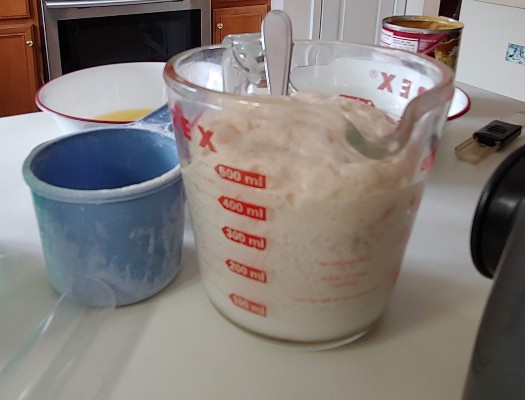
Measuring out flour, salt, an egg, butter, and sweetened condensed milk, she added them to the mixing bowl of our stand mixer.
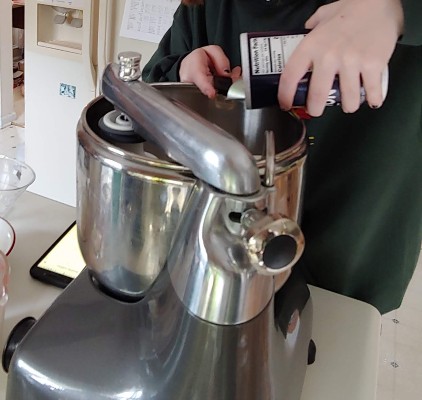
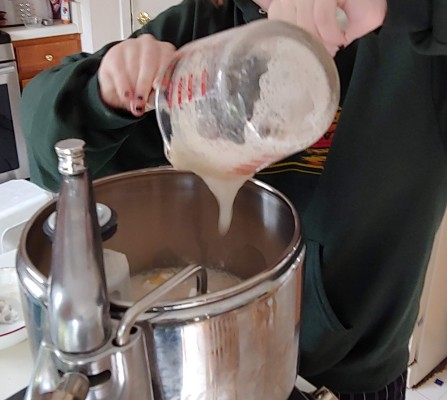
After all of the other ingredients were in the mixing bowl, she poured in the activated yeast mixture.
Starting the mixer, she ran it at low speed for ten minutes. Given my wealth of experience baking homemade bread, I assured her that running it faster would be fine. She insisted on keeping it low.

When the timer beeped, the dough was way too sticky. How could my high schooler fix the problem? I suggested three options: mix in a bit more flour, run the mixer at a higher speed, or knead more flour in by hand until the dough is workable. Always anxious to get her hands messy, she eagerly floured the counter and started kneading.
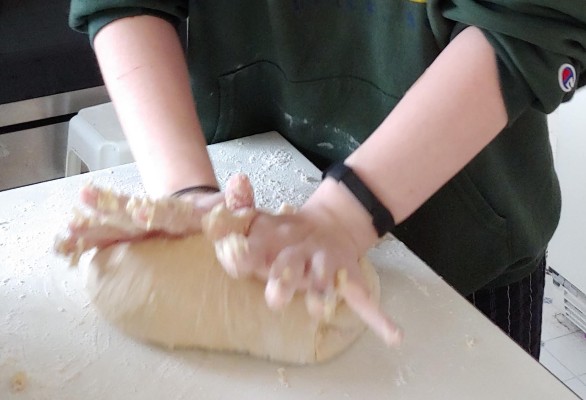
Before long, the dough had transformed from a shapeless, sticky, gooey blob to a beautifully smooth ball. Gently, she set it into an oiled bowl, covered it with a damp towel, and let it rise. Meanwhile, she prepared the topping. Each roll would have a thin piece of sweet, colored dough on top, making it resemble a pineapple.
At this point, my daughter encountered her next challenge. We didn’t have the superfine sugar the recipe called for. Should she substitute powdered sugar or granulated sugar? Opting for powdered sugar, she added a bit extra after learning that 1 ¾ cups of powdered sugar is equivalent to just 1 cup of granulated sugar.
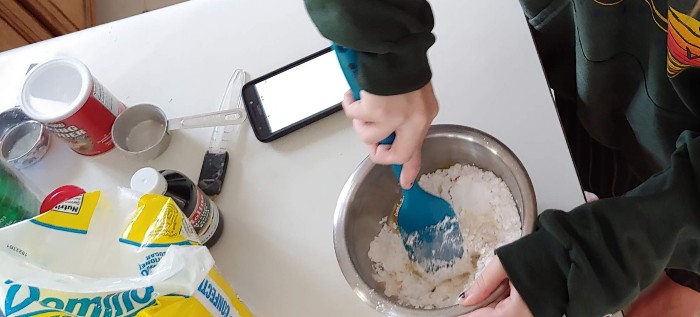
After mixing the topping, she covered it with plastic wrap and let it rest alongside the rising dough while she tackled the dirty dishes in the sink.
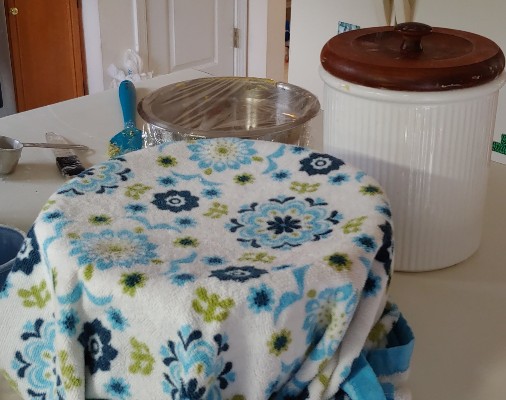
Taking a well-deserved break, she played 2048 on her phone until the dough had doubled in size. Then the fun began all over again. She divided and weighed the dough for each bun.
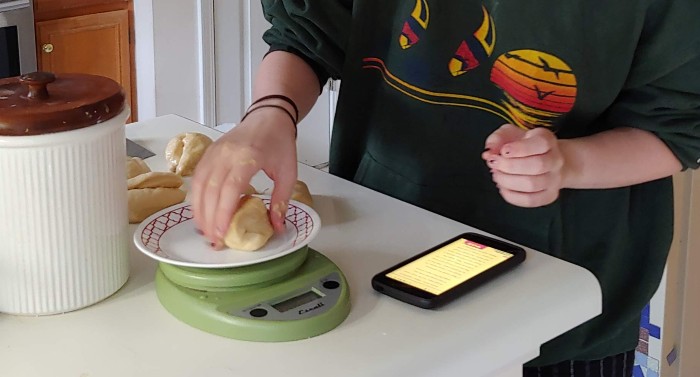
After shaping each piece of dough into a smooth ball, she placed it on a parchment-lined tray.
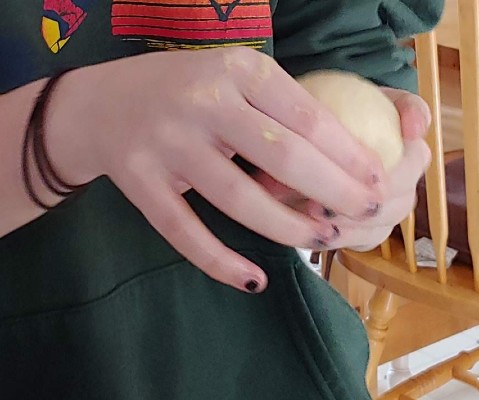
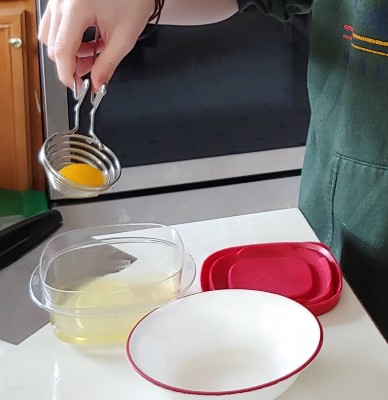
While waiting for the buns to complete the second rise, she prepared an egg wash to brush on before baking them.
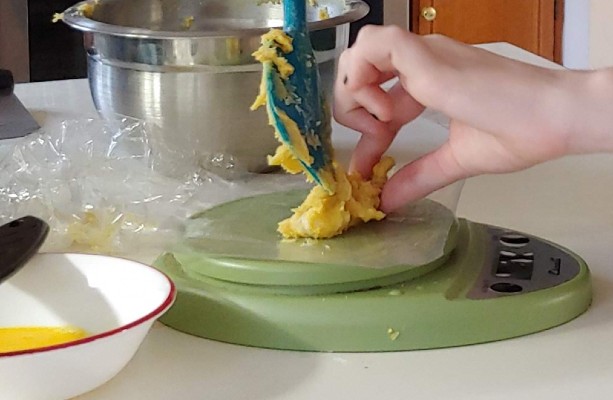
At last, the buns had risen to one and a half times their original size. My daughter weighed out the topping onto a piece of plastic she had cut from a Ziploc bag.
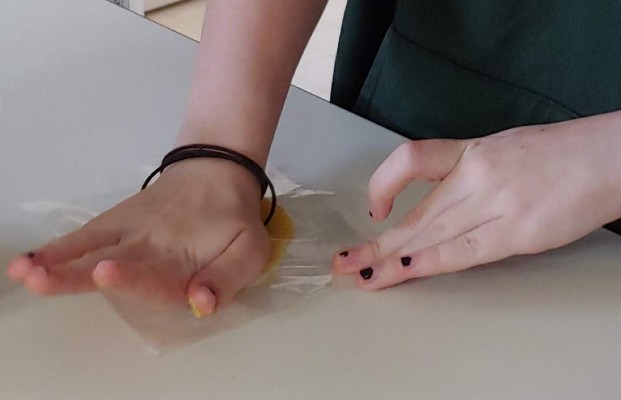
Placing the other half of the bag on top, she flattened the topping with her hand.
After removing the second layer of plastic, she carefully placed the yellow patty atop the first ball of dough. Slowly, she peeled the other piece of plastic off. Separating the sticky topping from the plastic was challenging. For the remainder of the topping, she used waxed paper with slightly better results.
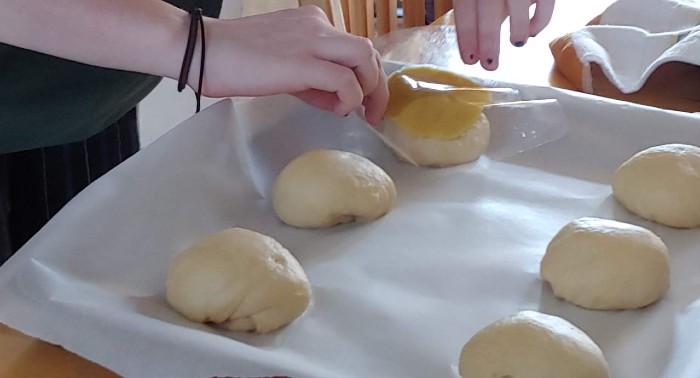
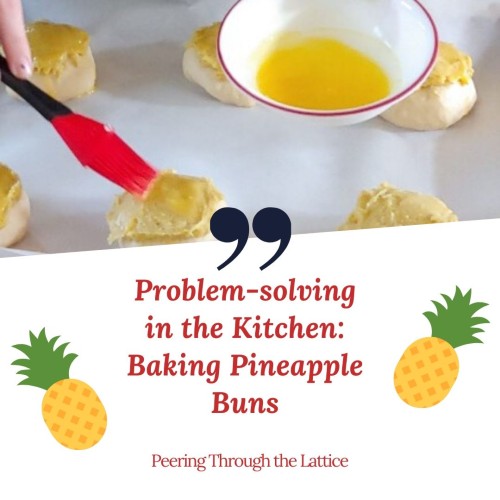
Using a pastry brush, she painted the egg wash onto each bun.

The hot oven was waiting. My daughter carried the tray across the kitchen, placed it in the oven, and set a final timer. How would they turn out?
Amazingly, the finished buns looked similar to the ones she enjoyed in Taiwan. When the kids bit into them for dessert, they all enjoyed the tasty sweet rolls. Though the crust on the fresh buns was crispier than the storebought version, the flavor was fantastic. When they dug into the leftovers at snacktime the next day, the rolls were soft and sweet.
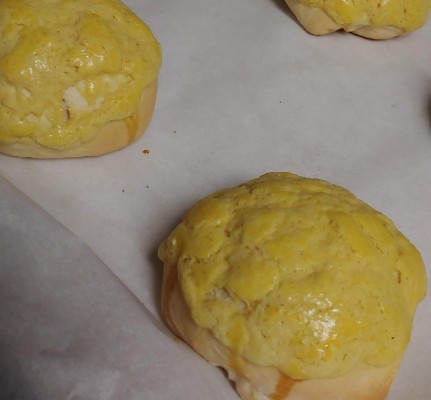
Making Pineapple Buns was a perfect opportunity for my daughter to satisfy her craving for Chinese treats and develop her skills in the kitchen. The process helped her build her math, science, problem-solving, and baking skills. It drew the entire family together as we enjoyed the finished product. My son, who hasn’t been to Taiwan since he was a toddler, savored each bite. The promise of Pineapple Buns was even enough to lure my adult daughter back to the nest for a quick visit. She, too, was eager for a taste of Taiwan.
Is your family adventurous enough to attempt making Pineapple Buns? Find the full recipe at the Healthy Nibbles blog.